Week 2: First Steps on the Trail
This week I dove into the first proper steps of building Thru Hiker—setting up some basic tools, blocking out a level, and getting a feel for what’s technically possible within the Game Boy Color’s limitations.
🧱 From Pixels to Playfields
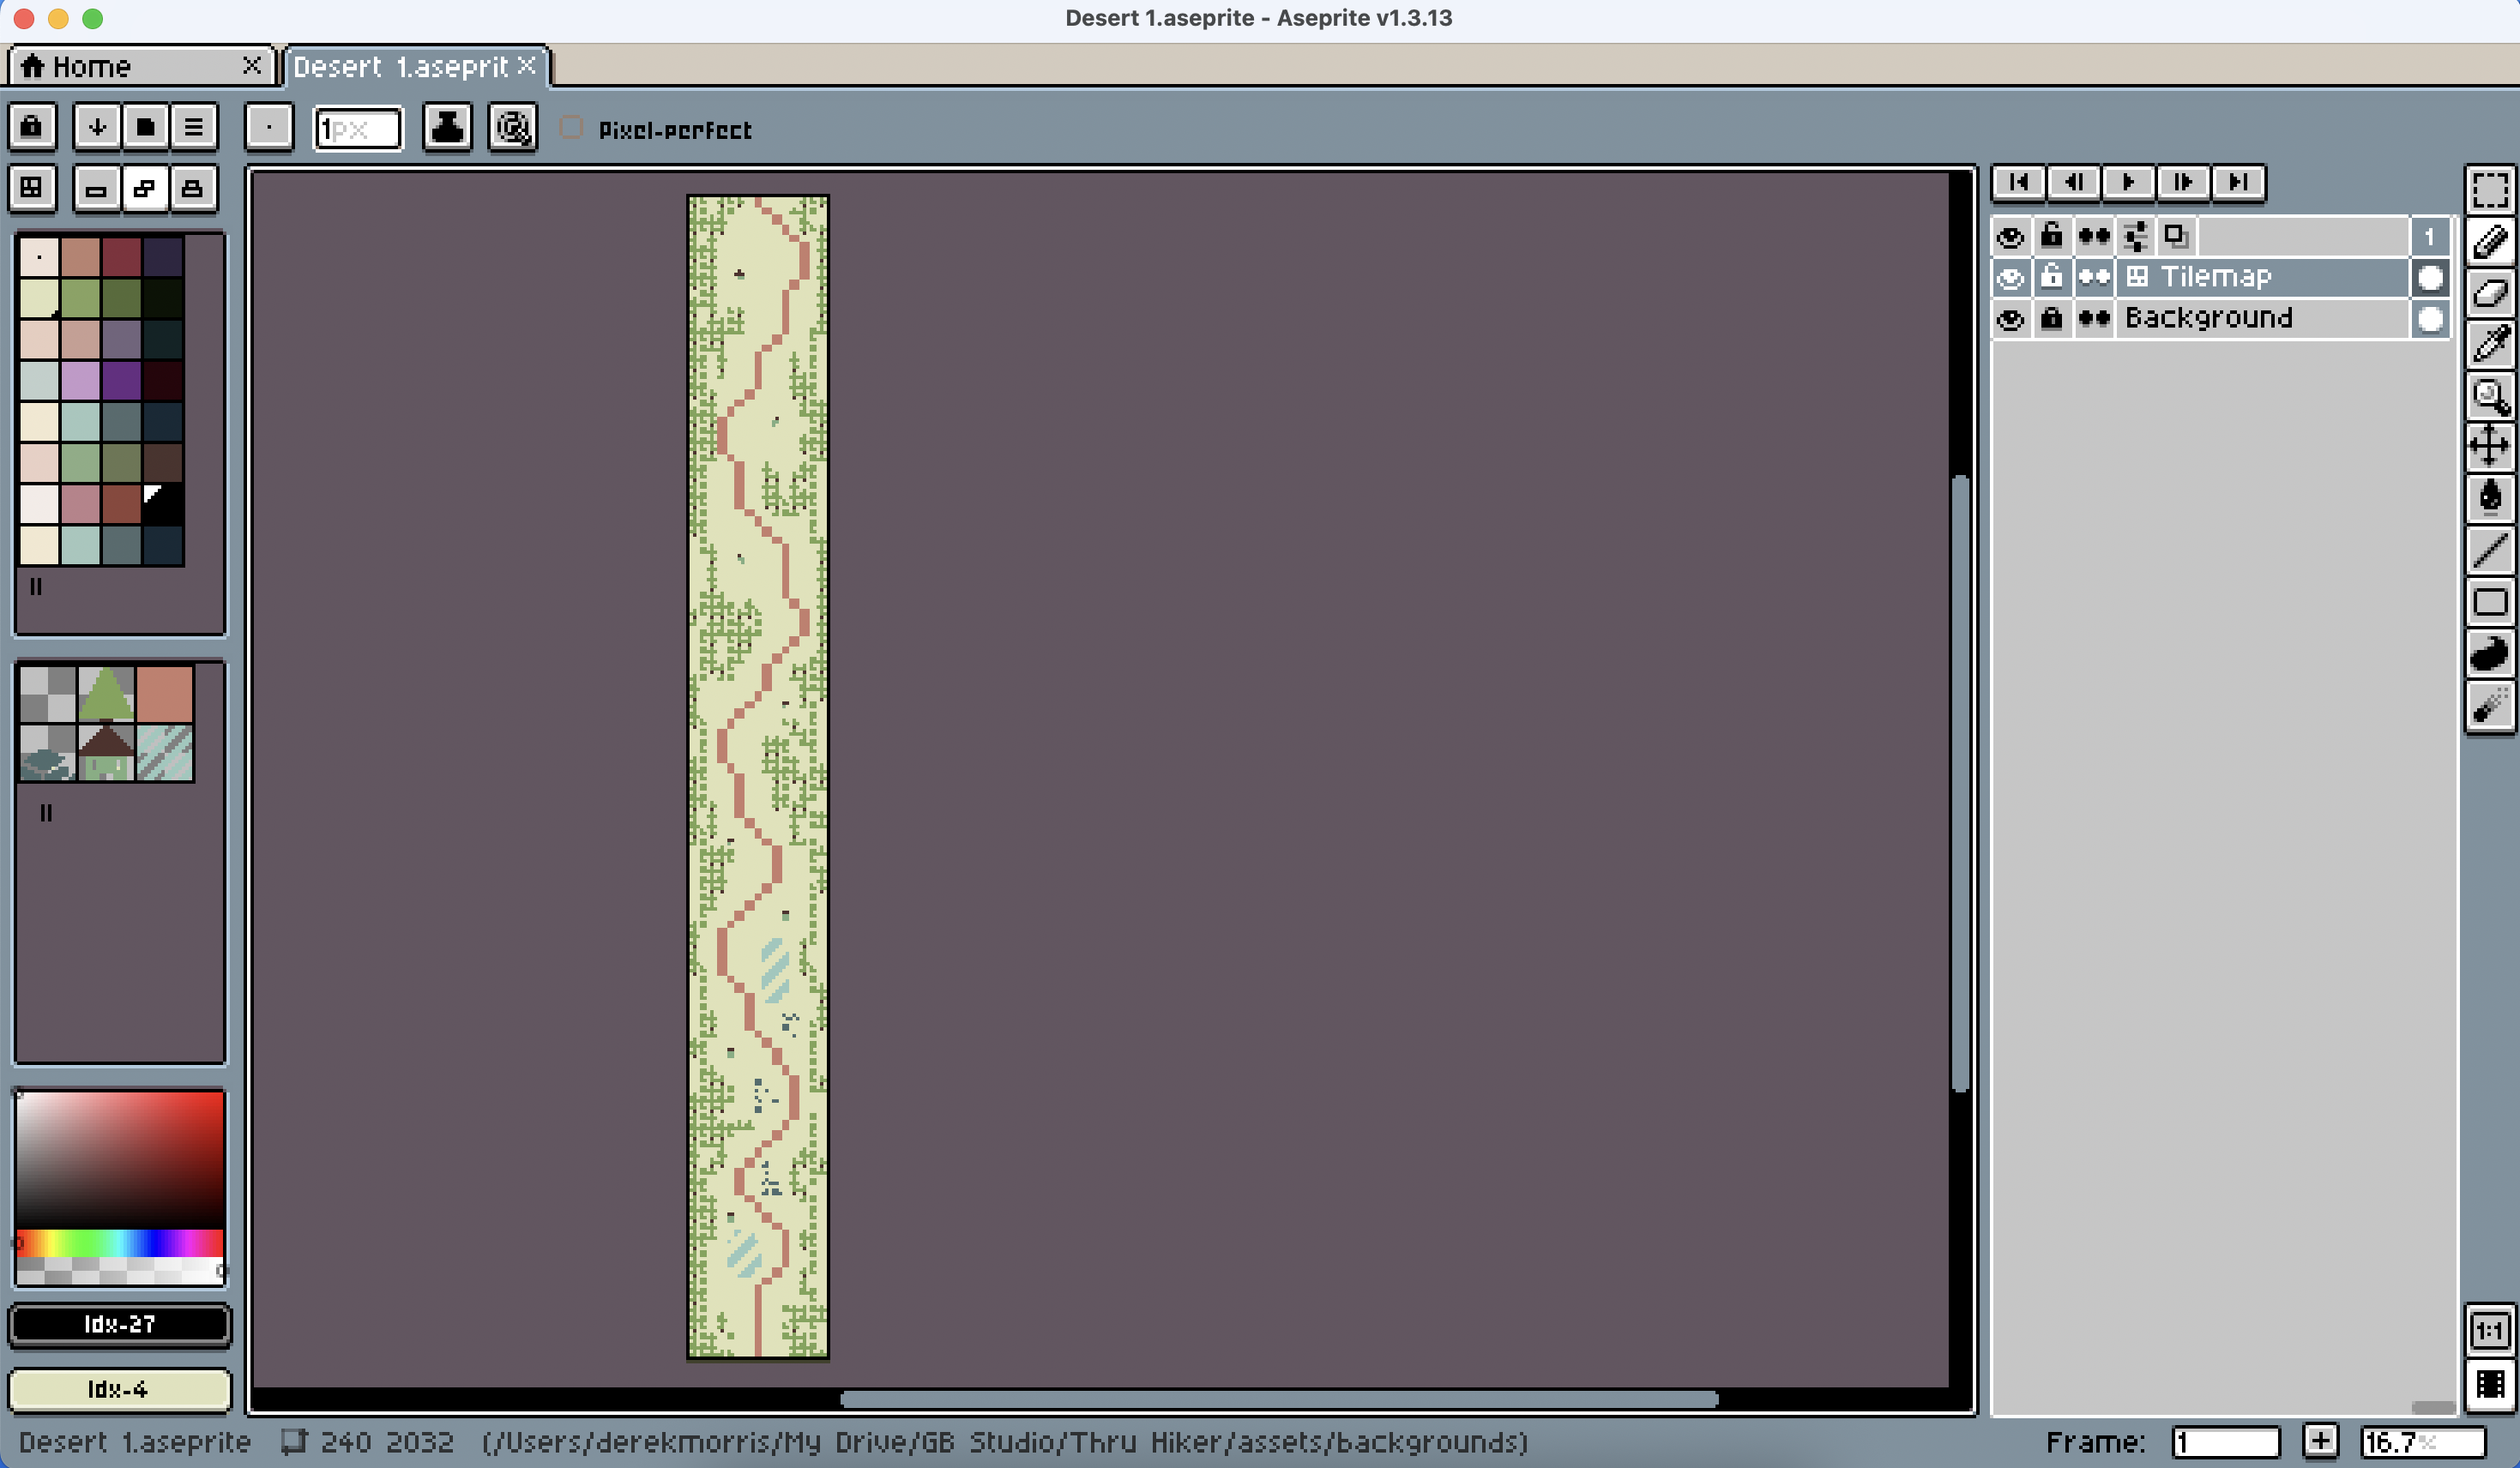
To start, I created a simple blocked-out level using Aseprite and Tiled. My process was to draw 16x16 pixel tiles in Aseprite (each made up of four 8x8, 4-color tiles—the Game Boy Color’s core format), build a map in Tiled, and then export it as a PNG to import into GB Studio.
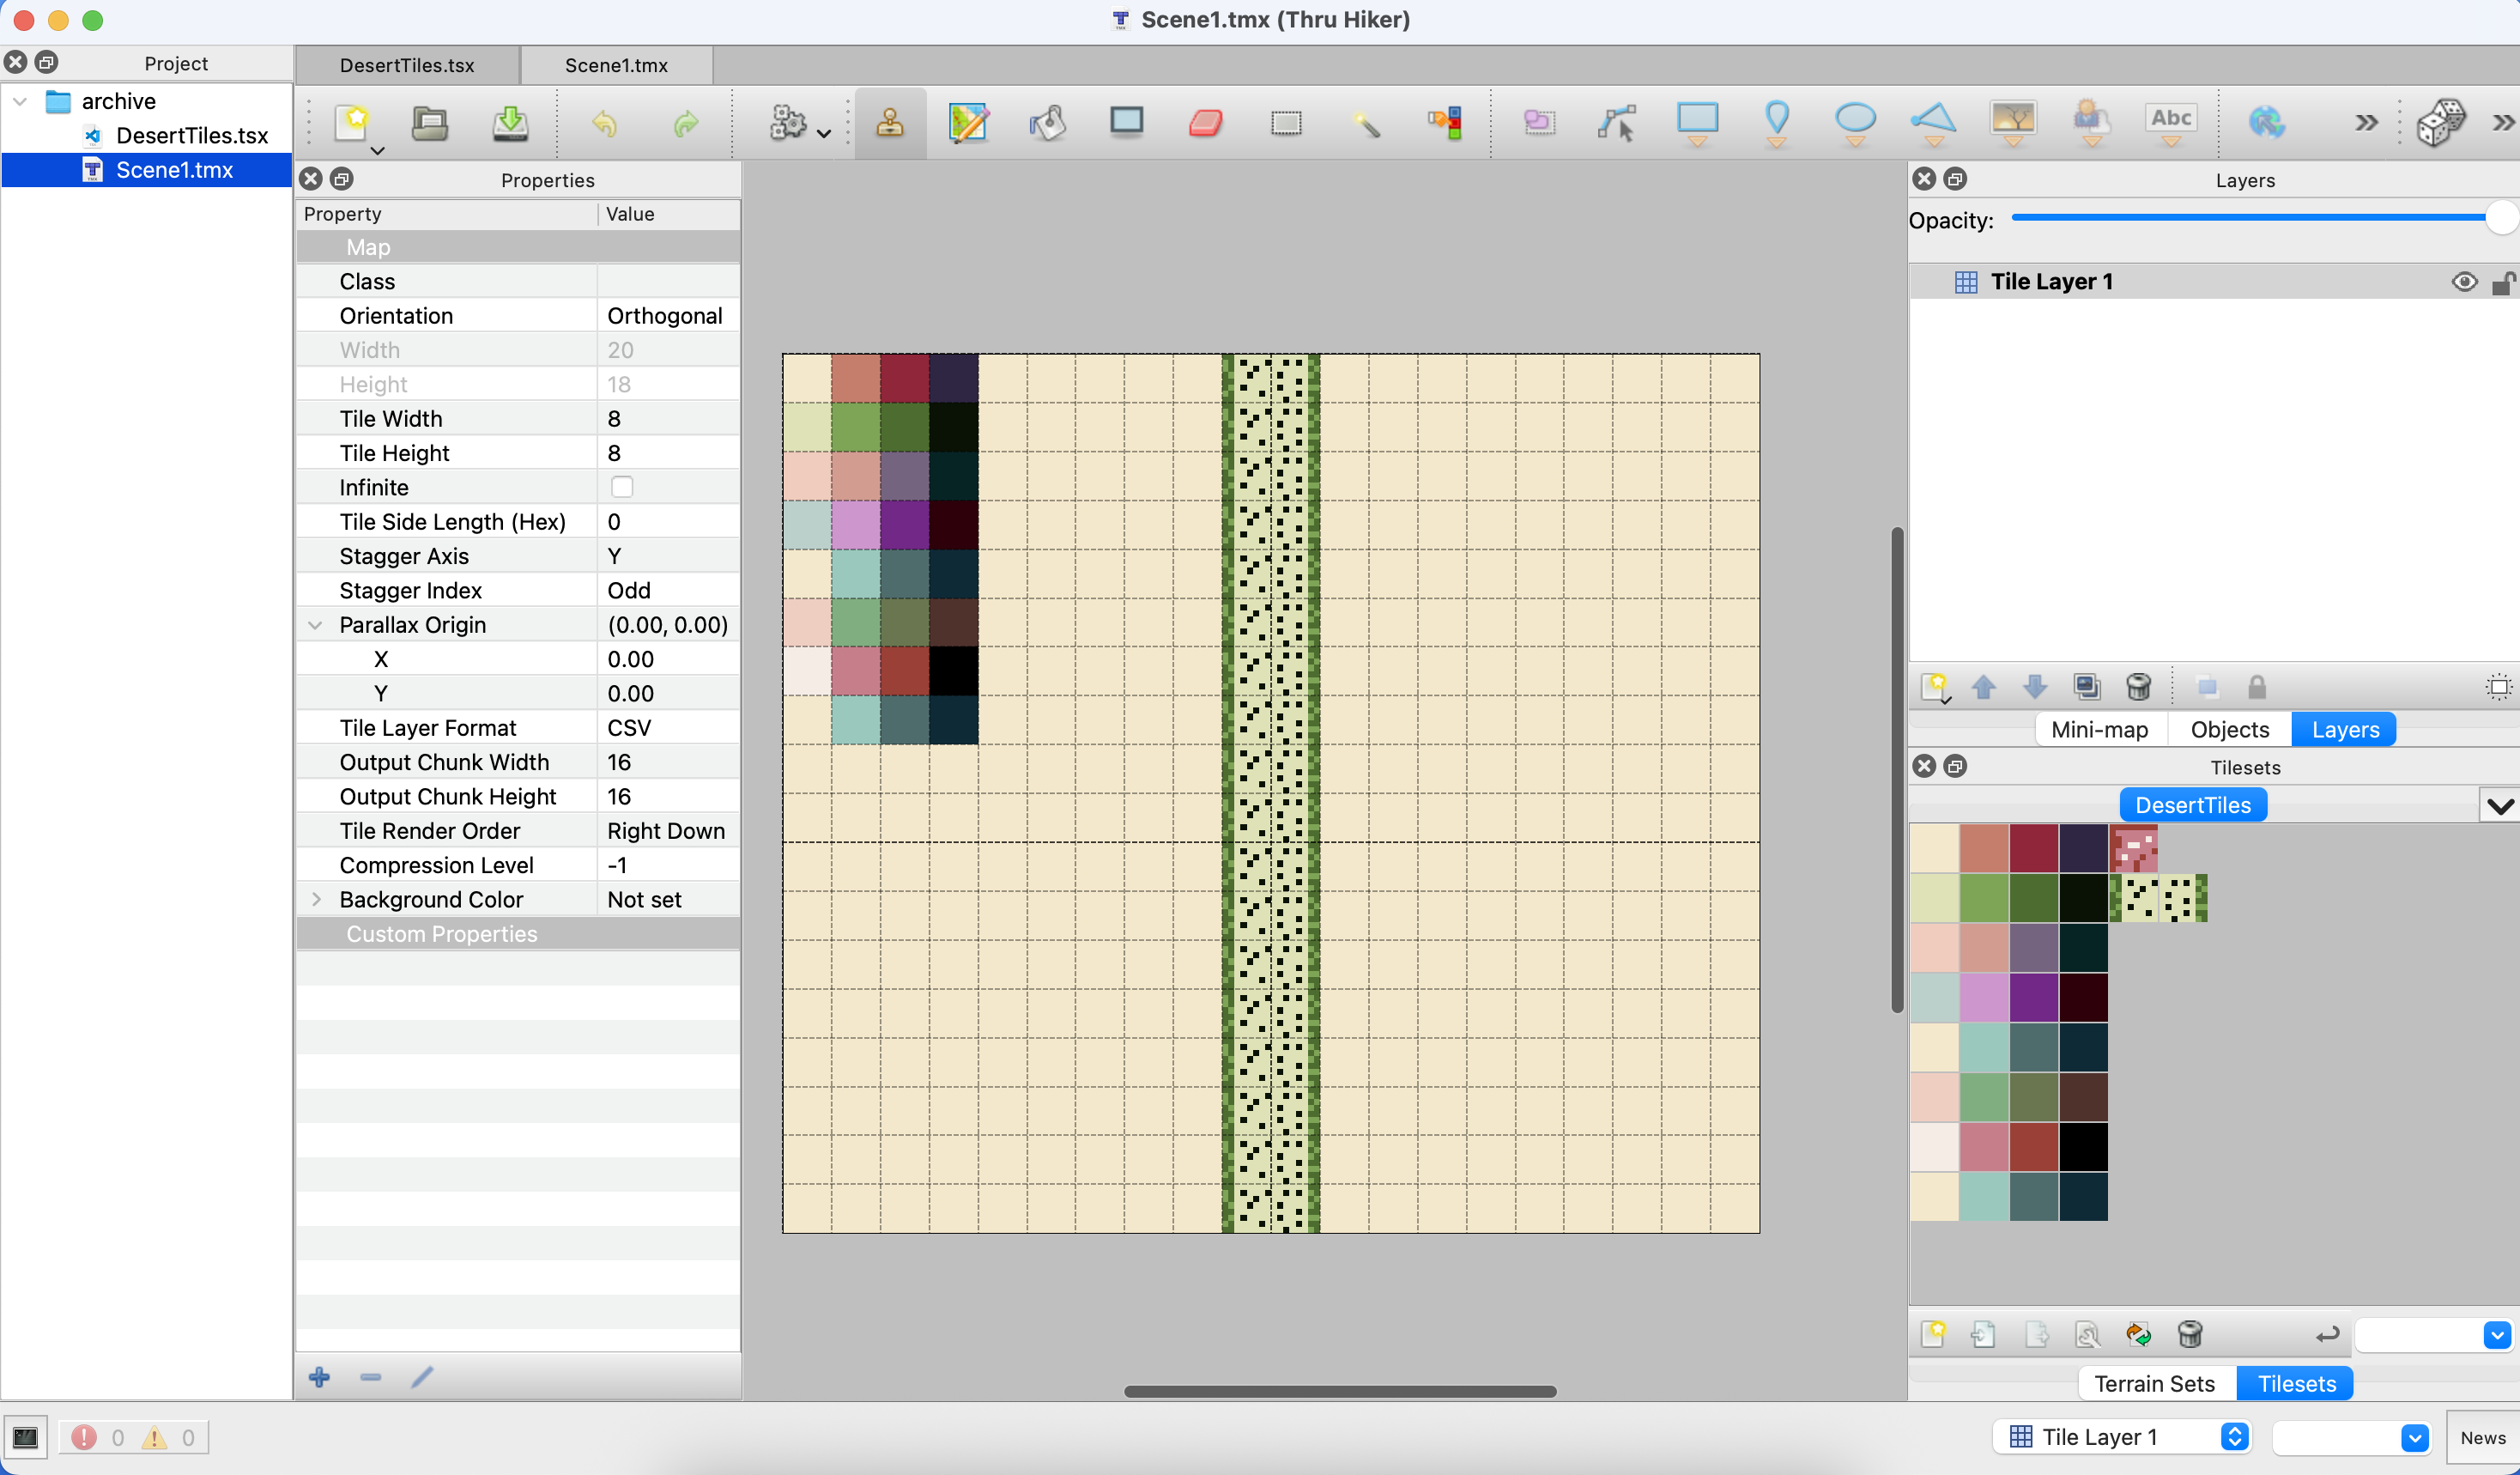
It worked fine—but it turns out Aseprite now has its own built-in tilemap workflow. So I tested that out. Aseprite lets you create and paint tilemaps directly, and while it doesn’t have all the advanced features of Tiled, it’s more than enough for what I need right now. It also simplifies the pipeline by cutting out an extra tool.
🚶♂️ Movement and Scale
Next, I set up a basic 16x16 character sprite using a sample sprite I had on hand. Getting it walking around the level was pleasantly fast—GB Studio really does make prototyping feel frictionless.
With that in place, I started exploring the limits of asset sizes. For Game Boy Color games specifically, GB Studio supports a max tileset size of 384 tiles (which equals a 192x128 pixel image if you’re working with 8x8 tiles). That’s my starting constraint for environment tiles.
Map dimensions are a little trickier. The max size for a background image in GB Studio is:
-
Max width and height: 2040px
-
Max total pixels: 1,048,320 (i.e., 2016x520 is valid, but 2040x600 is not)
I ran some calculations and landed on a working test size of 240x2032 pixels (30 tiles across x 254 tiles down). This results in maps that scroll vertically, with a bit of side-to-side meandering for trail paths.
⏱ Time, Memory, and Map Reuse
Walking a full screen at my current player speed (0.4375) takes about 2 minutes. That means a 60-screen hike would take around 2 hours of real-time play. Add in another 20 screens for towns and side paths, and I’d be looking at 80 screens total.
That’s where I hit a wall—or at least a memory ceiling.
I did some rough testing in GB Studio and found that 1 screen used around 131KB, while 10 screens came in at just 262KB. That surprised me at first, but it likely means the tileset data is shared across scenes and doesn’t scale linearly.
So projecting that out:
-
80 screens = 10 × 262KB × 8 = ~2MB total
That’s half of the 4MB Game Boy Color cartridge limit, and that’s before factoring in music, scripts, dialogue, or other game data.
To stay within budget, I’m now leaning toward creating a smaller set of reusable maps—maybe 10 per region (desert, mountains, forest)—and subtly altering them each time they appear. Just swapping out a few tiles or objects should be enough to maintain visual interest while keeping memory use efficient.
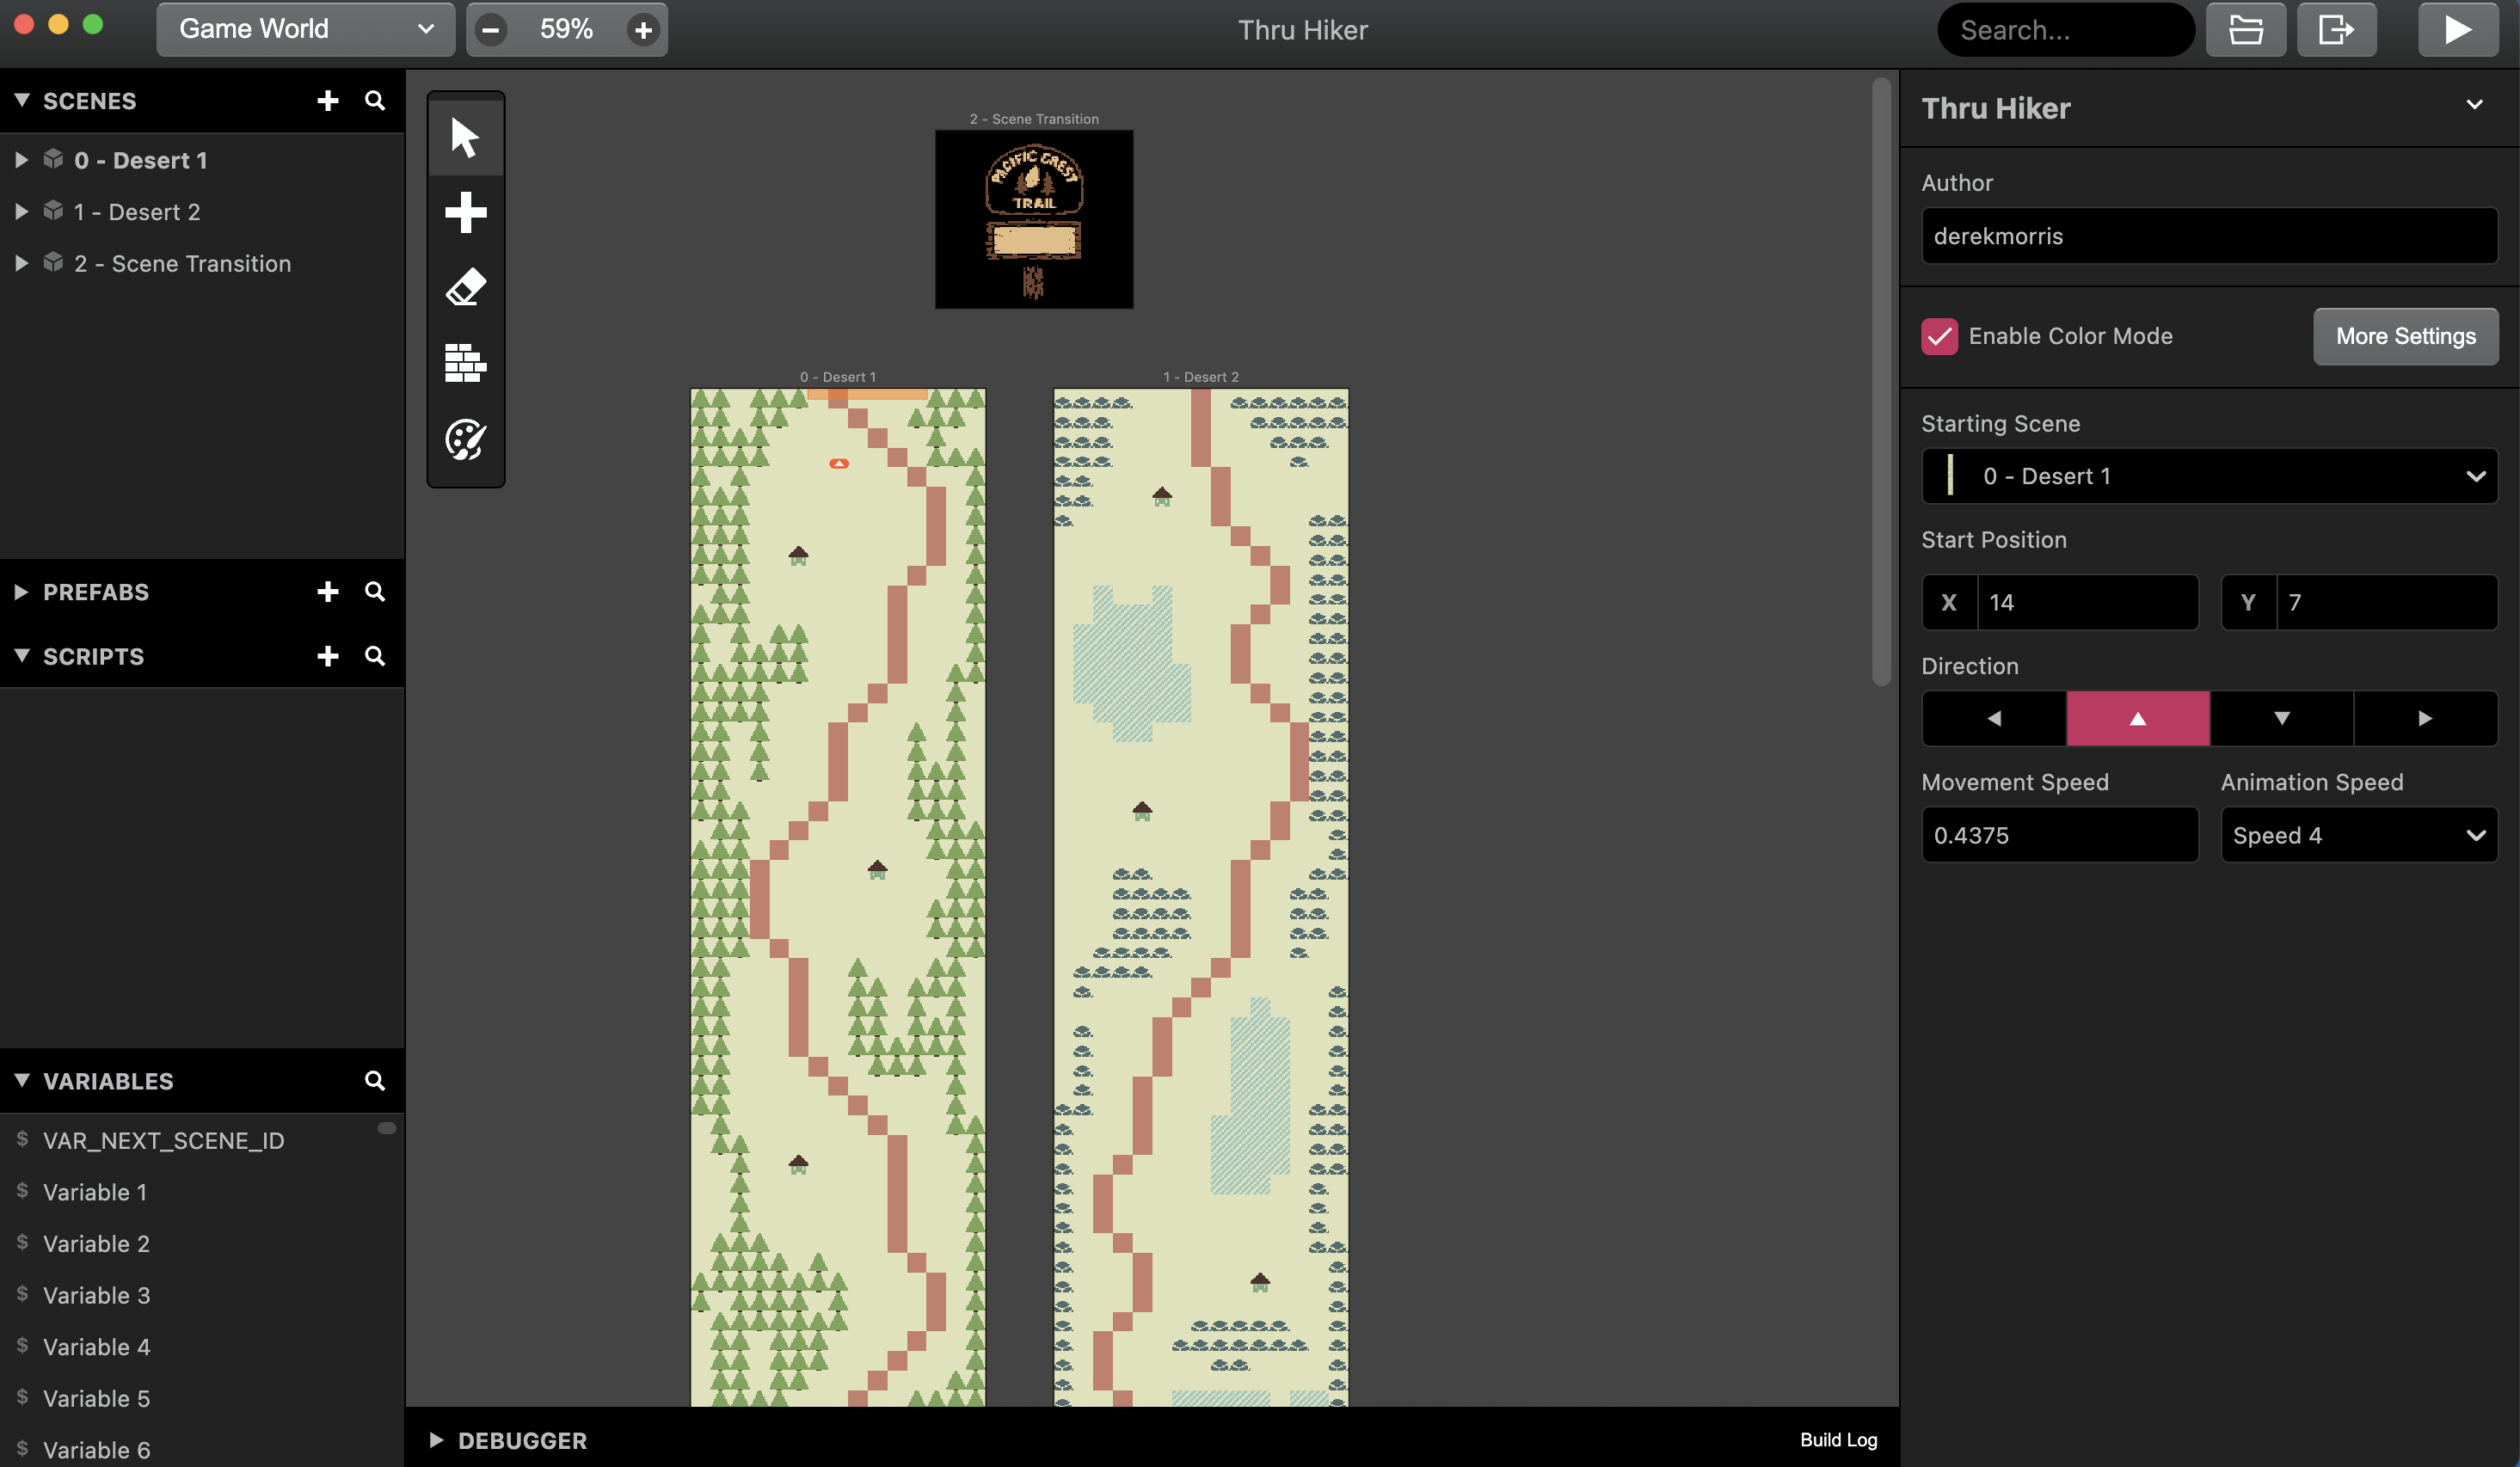
🚏 Screen Transitions and Trail Signs
To test how scene transitions felt, I tried various fade styles in GB Studio. The “instant” switch is snappy but jarring—especially when you jump from the top of one map to the bottom of another with no visual connection. It reminded me why Zelda games scroll the screen smoothly when you move between areas.
Instead, I decided to lean into the fade.
Now, transitioning between scenes fades to a trail sign screen that briefly shows your current progress. It lasts just a couple of seconds but helps ground the player and gives me a perfect window to swap out tiles behind the scenes. It also feels thematically on point—like pausing to glance at a trail marker before continuing.
That’s it for this week. A lot of the work has been foundational—understanding limits, building workflows, and poking at what feels right. But it’s also the kind of progress that sets the tone for everything that follows.
Thanks for following along. As always, happy trails 🌲
— Derek
Leave a comment
Log in with itch.io to leave a comment.